Wednesday, January 25, 2012

February's Preschool Curriculum!!

It's here! Well sort of... half of it's here. I have the first two weeks of February's Curriculum done.. AND it's free this month!!!

Try it out and see if you like it! It's FULL of ideas and print-outs to try. There is work that goes into it, but if you're serious about educating your preschooler at home, it's work. :)

Please let me know anything you'd like changed- formatting wise.

I'm also adding assessment pieces- Assess your child so you know which activities to really do, and which you could skip if you run out of time.

ENJOY!
Alright!!

I decided to put my curriculum on my etsy shop. 
I couldn't add a PDF to blogspot :( My curriculum is .20 on etsy- still super cheap! :)

Tuesday, January 24, 2012

Problem and Solution: Grocery Store Madness


Time for my weekly problem and solution.

Problem:
Whenever I took Killian to the grocery store, he was well behaved (relative mind you, he is 2) most of the time. However, I made the mistake a while ago of letting him eat the food we were purchasing before we purchased it. This became part of the routine, and Killian eventually was wanting to eat EVERYTHING we bought. So I thought, how can I make grocery shopping more educational and exciting for him, so he wouldn't want to eat so much, AND he was learning to help me?
Solution:
I created a simple 5 item grocery list for Killian to have. He was in charge of finding these things and putting them in the grocery cart.
As you can see, I have the numbers, pictures and words. Killian's beginning to recognize numbers and he just started realizing that words mean ideas. So this became an educational experience. I'd ask him what the 3rd item on the list was, and he had to look next to the 3. In addition, he "read" the words to me. MAN was this a hit. He was so helpful, going over his list again and again to make sure we had everything. Of course, I made sure I put the items in the order that we'd see them (I know our grocery store by heart of course). I made a template of the list blank, so I can fill in the pictures and words for each grocery shopping experience within a couple of minuets, and we'll be good to go. I might actually give him a few more items to find as well, as he started to get anxious to find the yogurt when we were only half way through the store.

So there you have it. A simple way to give your child responsibility, while educating them, and stopping any grocery-shopping boredom/misbehavior. Being a pre-service teacher, I know that most misbehavior comes from a child not knowing where/how to otherwise direct their energy. So, keep them busy with meaningful tasks, and teach them how to be responsible and helpful in the process.

Monday, January 23, 2012

Airplane Sweater- A Gymboree knock-off


I saw this airplane sweater at gymboree this past spring, and fell in LOVE with it. However, it was 25$... and being frugal, I decided I could make it. (The one above is my version).

So here's how you do it:

1. Go to Walmart (or goodwill) and get a plain zip-up Sweater: $7.00

2. Take out some old fabric that you don't need. On a piece of Freezer Paper, draw a picture of the airplane. Then, using an X-acto knife, cut out the airplane. Iron it to the piece of fabric. Use fabric paints to paint it.

3. Cut the airplane out, and cut it in half. Then, use iron-on adhesive and attach it to both sides of the sweater. 

4. Either hand sew (like I did), or use your sewing machine, to sew around the airplane. I used yellow embrodery floss, because I thought it looked cool.

5. Sew on a button

6. Show off your adorable kid. :)

Saturday, January 21, 2012

Lots to come!

Alright, I'm finished student teaching and taking a firm grip on this blog now... So what's to come??

Glad you asked... every day will be a new post about something different. Here's the schedule:

Monday: Project/Craft for Boys
Tuesday: Mom's Solutions
Wednesday: House Organization
Thursday: Fun/Educational Ideas for Toddlers
Friday: Fun FRIDAY! This is a toss-up... you'll NEVER know what you'll get :)


On another side note... I'm currently creating curriculum for preschool (ages 2-5) children. SOO, if you're a stay-at-home mom, or a homeschooling mom, you can purchase my curriculum from me.. from this blog. I'll be putting up Feb. curriculum for free later this month. Then, if you like it, it'll be 10$ a month, pay as you want.

So.. Watch out for monday's post for a project you can do for a boy in your life. :)

Monday, November 14, 2011

A new paint job for the toyshelf/bookcase

This summer I repainted a bookcase and toyshelf.. It turned out pretty well. Here's the link from my original blog that gives all the details

Sunday, November 13, 2011

K's Dinosaur Room

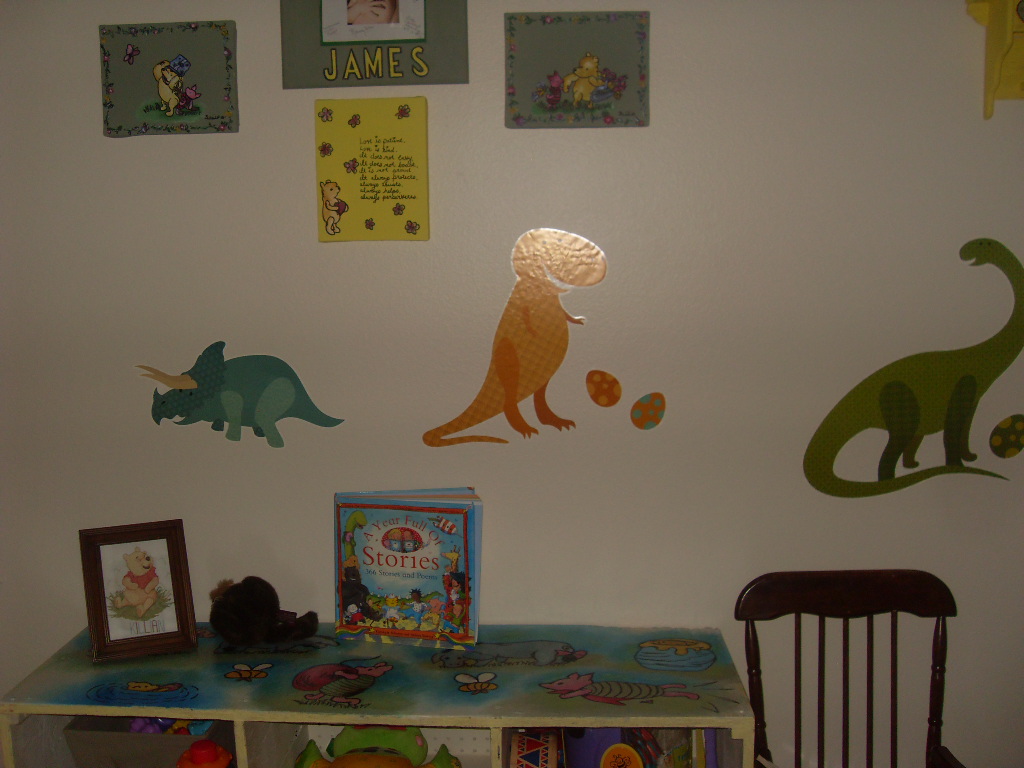
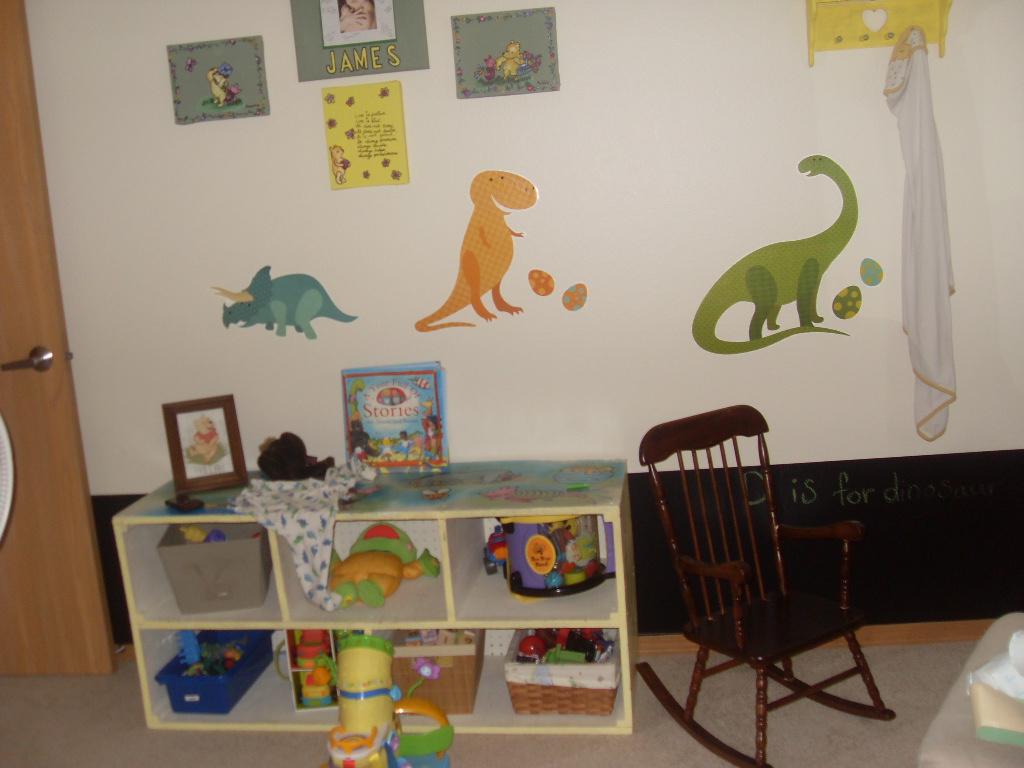
I figured it'd be helpful to anyone thinking of decorating in dinosaur theme, but can't stomach (or afford) the cost of buying everything... I made most of his decorations (except for the wall stickers) and it all turned out pretty cool (If I do say so myself) :) So here it is:
 I started off doing small steps. So as you can see, there are still some winnie the pooh decorations in these first couple of pictures... but I started by getting wall stickers from Shopko.
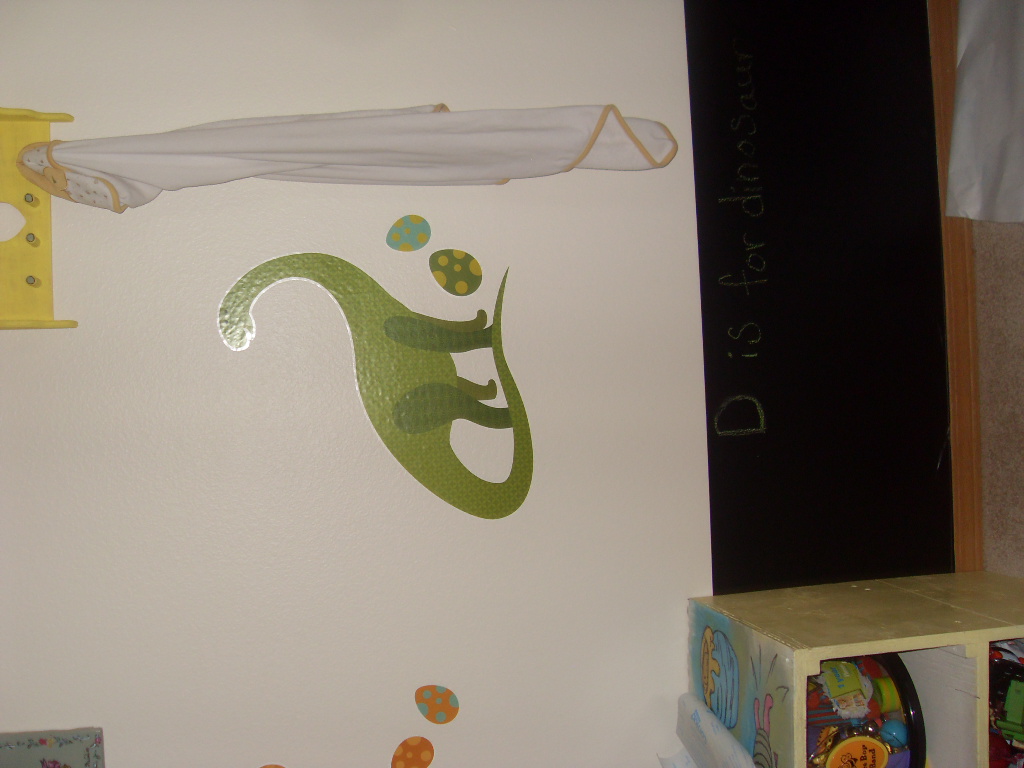
 Then I started putting chalkboard up- this was super easy... I bought a huge roll of black contact paper from amazon.com and put that up (ok that part isn't easy.. if you have 2 people to put the contact paper up it might go smoother), but it's easier than painting chalkboard- and cheaper too.

 Just a picture what the chalk on the contact paper.

 Here you can see a whole wall with the black.
 I sewed a small pillow or his rocking chair in the colors of his new room.
 I got these adorable wall art alphabet sheets and I put them all around his room. These are how he learned his alphabet
 For his 2 year old pictures, I had  his photographer take pictures of him with his green Rex stuffed animal- then I framed those. I kept his name that I painted, because the colors still matched. If you look closely, you'll see a lamp that's brown and green . I bought a lamp at goodwill and spray painted it the new colors of his room. I was going to put dinosaurs on his lamp shade, but I decided against it at the time... though now that I think about it- that might be my new project :)
 I sewed curtains- This was for 2 reasons. #1- I couldn't find any that I liked and were in my price range #2- I needed room darkening ones because his room gets so light in the morning. So I sewed these with felt material on the back and it really works!
 It says Killian's playland
 I also made a valance. To get he letters and dinosaurs on there, I cut them out, then ironed on iron-on adhesive so they stuck to the valance. Then I sewed zig-zag around them.
I slowly kept buying the wall stickers- putting them up

This was when he was getting a big boy bed..

I put his dresser in the closet and just kept the hamper out

Book shelf area... of course it's rearranged now and I repainted the bookshelf to match the dino room (watch for another post)

The quilt: I made the dino-quilt for his toddler bed. Then when he switched to a big bed, I bought a quilt from target for 25$ and sewed the dino quilt on top. 

I says Killian with 3 different dinosaurs on it.

OH! These were SOOOO simple. I bought these dinosaurs at hobby lobby for 1$ or .50 each, then I bought a pack of 4 knobs, painted them, glued them on.

Then I stuck them to the wall and I hang his dress-up hats on it.

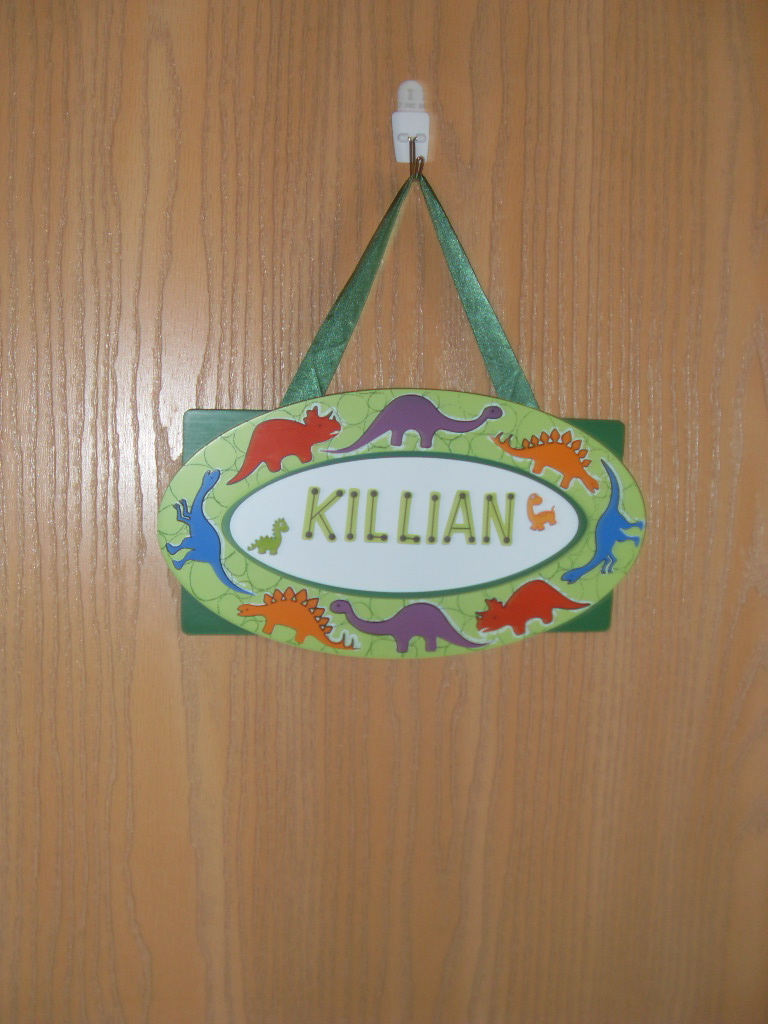
I found this dino-name plaque off of craigslist.. but amazon sells them too (mellissa and doug)

My dad made his toy shelf for xmas last year and it's AWESOME. I decorated it by sticking the wooden decorations (again hobby lobby) onto it with wood glue

I chose the things that he's really into to


These were pretty simple decorations too. My dad cut me 2 pieces of wood, both 1x2 feet. I painted them with his initials and glued those dinos on. Then I stuck ribbon on the back, tied the ribbon, and they hang above his bed.


The clock: I bought a clock from hobby lobby (and the hardware). I mod podged paper and stickers on it. Super simple. 


These decorations took me a night. I simply used construction paper and glue:


I've thought about framing them.. but I like the simpleness of them on the wall.
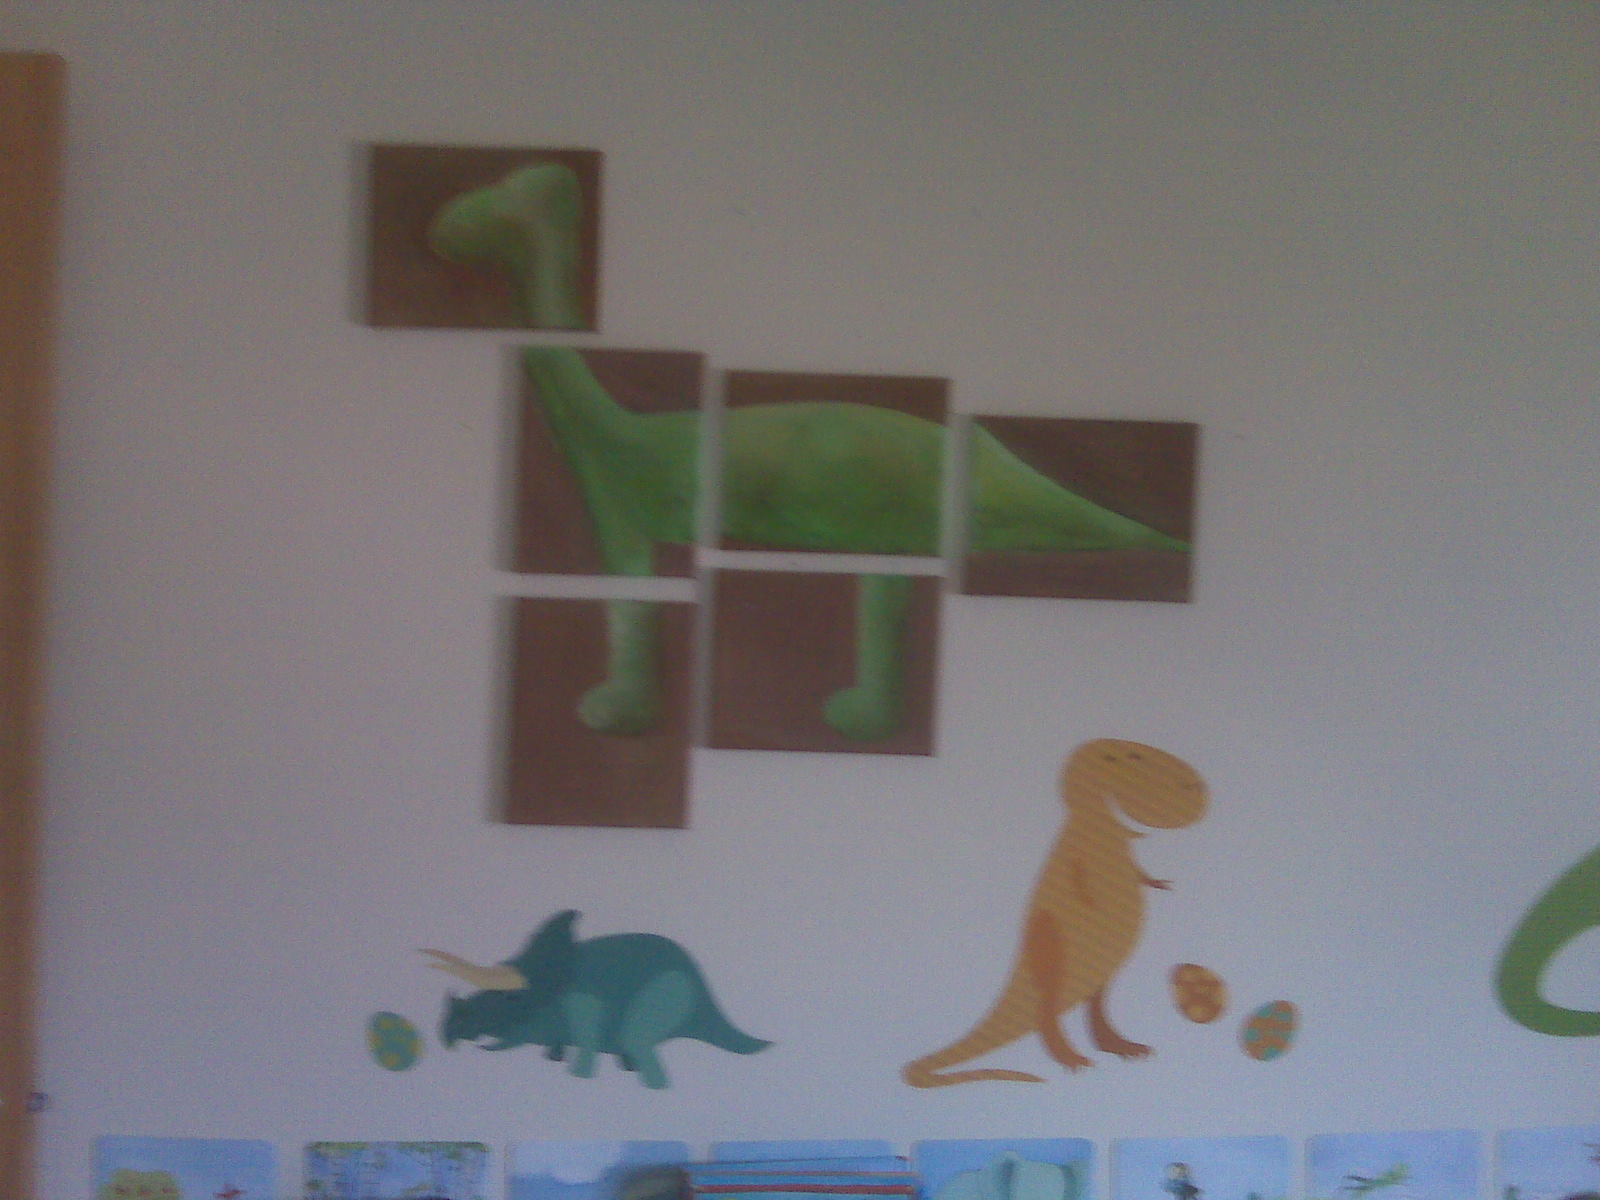
Finally... the last piece of art work. I bought canvases and painted this dino-puzzle. Took me a couple of hours. 
I'm trying to take a video of the room that will upload here.. but it's not working too well. If you have any questions, feel free to comment.

Saturday, November 12, 2011

Take-along Car Caddy

I made this car caddy for Killian last christmas. He loves it, especially when we're at an appointment. And it's super simple!
I used a green piece of fabric (actually a scrap of green fabric from Killian's kitchen) as the back of the caddy. Then I sewed on the train fabric on top, and sewed down pockets. Next, I sewed on some brown felt and yellow fabric to look like a road. Lastly, I sewed on a ribbon on the back to tie. I may change this and add bigger pieces of fabric with velcro, because the ribbon is hard for killian to tie so he can't clean up his own mess.

Here you can see the pockets. I have a few cars in each pocket and they stay in there when you fold it up. You fold the road on top of the pockets and roll it up:
Pretty simple but a fun toy for any boy :)